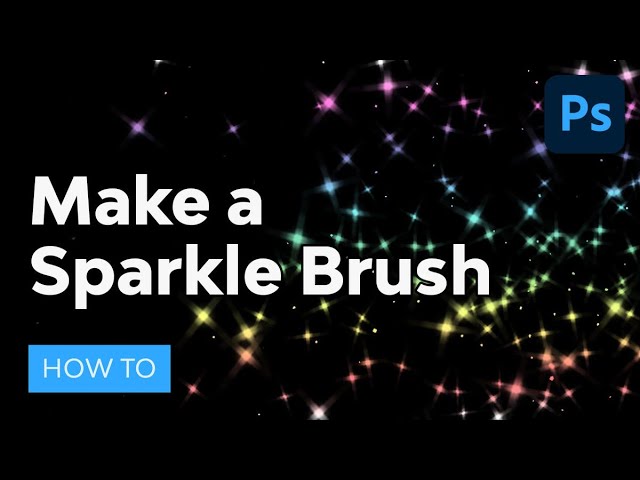


If you’re interested in glitter and sparkle brushes, in this tutorial I’ll show you how to create a sparkle brush in Photoshop from scratch. Add some magic to your photos with your own diamond sparkle Photoshop brush! You can also use this as a glitter brush in Photoshop.
And if you need a faster solution, scroll down for a couple of ready-to-use actions that will add sparkles to your photo with a single click!
What You'll Learn in This Sparkle Brush Photoshop Tutorial
- How to make a custom brush from a photo
- How to create diamond sparkle Photoshop brush
- How to create a glitter brush in Photoshop
- How to add sparkles to a photo
Follow along with us over on our Envato Tuts+ YouTube channel:
What You'll Need
You can add the sparkles to any photo. Here's the one I used:
How to Make a Sparkle Brush in Photoshop
Step 1
Create a New File with the following dimensions:


Step 2
Fill the background with black using the Paint Bucket Tool (G).


Step 3
Create a New Layer. Fill it with black again and go to Filter > Noise > Add Noise. Use these settings:


Step 4
Go to Filter > Filter Gallery > Watercolor. This filter will turn the noise into individual spots, and this is exactly what we need!


Step 5
Duplicate this layer (Control-J) and hide the original. Name the original “tiny speckles” and the copy “speckles”.


Step 6
Try to find three spots that seem to form a triangle together. If you can’t find them, use the Lasso Tool (Q) to move the spots around and create such a formation yourself.


Step 7
Then resize the layer (Control-T) to fill the whole canvas with just these three spots. Use the Crop Tool (C) once to cut the area outside of the canvas.


Step 8
Change the Blend Mode of the layer to Screen. This will make the black part of the layer transparent.


Step 9
Duplicate the "speckles" layer and go to Filter > Blur > Gaussian Blur. Add a subtle blur.


Step 10
Duplicate the "speckles" layer again and go to Filter > Blur > Motion Blur. Add a strong smudge to these spots, and then lower the Opacity of this layer.


Step 11
Repeat this step, this time making the smudge shorter and more opaque.


Step 12
Do this one more time, this time without changing the Opacity at all.


Step 13
Create a similar smudge one more time, this time using the opposite angle.


Step 14
Now select all the "speckles" layers by holding Shift and pressing Control-E. Change the Blend Mode to Screen again.


Step 15
Duplicate this layer, make the spots smaller by pressing Control-T, and rotate them to make them less obviously copied.


Step 16
Repeat this process once or twice to create more of these small spots.


Step 17
Show the "tiny speckles" layer again. If there are spots right on the edges of the canvas, cover them with black using a brush.


Step 18
Right-click the layer stack and select Flatten Image. Then press Control-I to invert the colors.


Step 19
Go to Edit > Define Brush Preset. Give your brush a name.


Step 20
The brush is done, but we need to adjust its settings to make it work. Open the Brush Settings panel (F5) and increase the Spacing.


Step 21
Go to the Shape Dynamics tab and add some Size Jitter and Angle Jitter.


Step 22
In the Scattering tab, increase the Scatter and Count.


Step 23
Test your brush now. Feel free to adjust the settings again to achieve the desired result. Change the size while painting to make the effect more natural.


Good Job!
Now you know how to make a sparkle brush in Photoshop!


Sparkle Brush Photoshop Actions and Effects
Here are a couple of actions and effects from Envato Elements:
Sparkle Photoshop Action (ATN)


If you want to quickly add sparkles to your photo, this action will give you amazing results in seconds! You can use multiple colors for a prettier effect.
Magic Dust Photoshop Action (ATN)


Here's a similar action with a slightly different style of sparkles. It includes 33 presets for different color looks, and it offers a lot of customization options.
Animated Sparkles Photoshop Action (ABR, ATN, PAT, PNG, PSD)


Sparkles look best in motion, and with this action you'll create a sparkling GIF! Customize the effect to create a perfect sparkling animation.
Sparkle Bokeh Photoshop Action (ATN, PAT)


Sparkles and bokeh are a perfect combination, and this action makes the best of this effect! Use it to add magic to your photos with a single click.
Sparkler Photoshop Action (ABR, ATN)


This action will allow you to turn anything into realistic sparklers—draw a line or a shape, and play the action to make it sparkle!
Sparks Photoshop Brushes (ABR)


Would you prefer real sparks instead of generic sparkles? This brush set has you covered! It includes ten types of spark brushes to use for photo effects and overlays.
More Photoshop Brush Tutorials
Do you want to learn more about creating Photoshop brushes? Try these tutorials:


No comments:
Post a Comment