


Wondering how to curve text in InDesign? Then look no further! In this quick tip tutorial, we will be learning how to arch text in InDesign using the Text on a Path Tool. We'll be using a circle for our curve to create a simple curving effect. You'll then be able to apply this technique to create any curve shape you need for your text!
For the purposes of this tutorial, we'll be using this Theater Poster from Envato Elements to help get us started. This will provide a nice starting point for us as we learn how to arch text in InDesign. You can also follow along with your own project, of course!


What You'll Learn in This Tutorial
- How to create a path in InDesign
- How to curve text in InDesign
- How to arch text in InDesign
Follow along with us on our Envato Tuts+ YouTube channel.
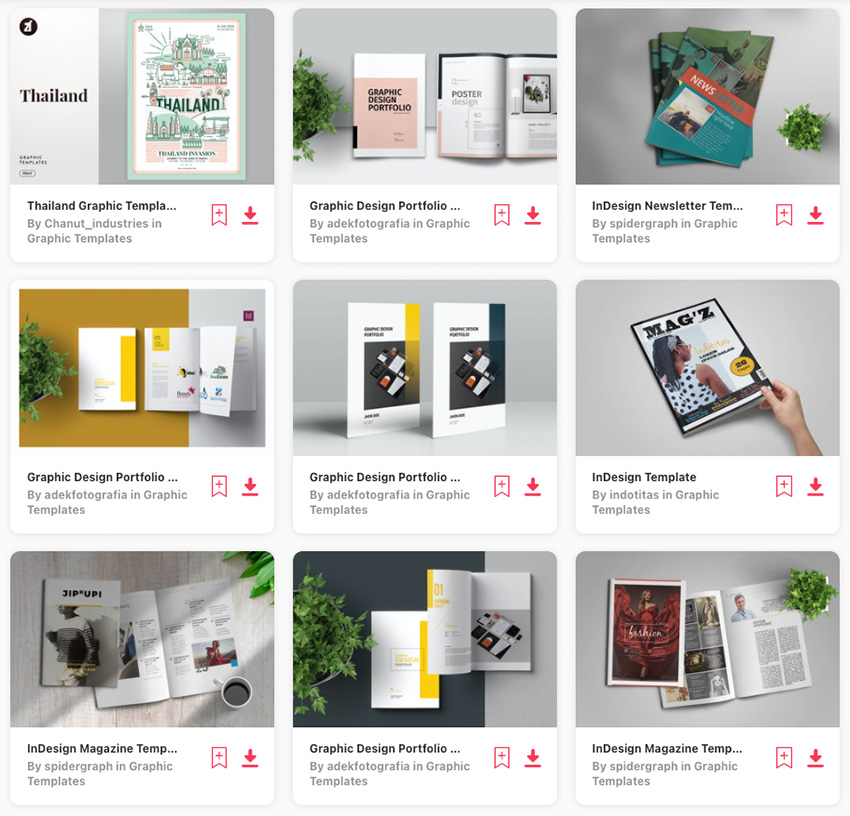
If you're looking for InDesign flyer templates to help you get started with curving text in InDesign, there is a wide selection available to you on Envato Elements. There are a lot of choices for InDesign graphic templates, which include flyers, brochures, and just about anything else you can think of.


1. How to Create a Curved Path in InDesign
Step 1
First we will need to create a curved path in InDesign in order to arc our text. While we're going for a simple arc, we will still need to create a path. We'll do this by using the Ellipse Tool to create a circle.
Open up your InDesign project. In our case, we are using this Theater template from Envato Elements.


Step 2
Let's recreate the header so that we can create a new header which follows a curve. Using the Selection Tool, click the existing header and then press Delete to remove it.


Step 3
Before we can get started with curved text, we will have to create a path for it to follow. As we just want a simple curve we will use a simple circle. Select the Ellipse Tool from the toolbar.
Tip: As it's not the default shape tool, you may have to click and hold the icon to see it.


Step 4
With the Ellipse Tool selected, hold down Shift and then click and drag to create your circle shape. This circle is what our text is going to curve on, so keep that in mind.


Step 5
Make sure that both the base color and stroke color are turned off so the path is not visible. You can change these settings in the Properties panel while the shape is selected.
Tip: You can find the Properties panel by going to Window > Properties.


2. How to Curve Text in InDesign
Step 1
Now let's move on to the type! Select the Type on a Path Tool from the toolbar.
Tip: Click and hold the Text Tool to reveal it.


Step 2
Now, with the Type on a Path Tool selected, click on the circle when you see the "add text" icon shown below.


Step 3
Go ahead and type the text you need for your project!
Tip: To adjust the settings of your type, you can go to Window > Type & Tables > Character. You can also change the color by clicking on the color palette in the toolbar.


Step 4
Now that you have your text typed, you'll want to move around the curve. Using the Selection Tool, select the shape and move towards the text anchor point. You will see an icon with an arrow when you're at the right point. Click, hold, and drag to move your text around the curve.


Step 5
Now let's take a look at the various settings we can use for Text on a Path. With the text selected, go to Type > Type on a Path > Options.


Step 6
This will open the Type on a Path Options window. From here, we can change all kinds of settings in relation to the curve.
Flip will flip the anchor point around to the inside of the curve.


Step 7
The default Effect is Rainbow, which is a nice balance. However, you can try out the other options too, such as Skew.


Step 8
Now you will want to check out the Align options dropdown. The default, Baseline, will put the base of the text on the outside of the path. Center will align it to the center. Ascender is a great way to place InDesign type inside a circle. Try out all the different align settings!


Step 9
You may have noticed when trying out different alignment options that the spacing changed dramatically. We can manually change the spacing to ensure all of our text lines up to meet our needs. Use the Spacing arrows to increase or decrease the spacing as needed.


Step 10
When you're satisfied, go ahead and press OK. You can adjust the shape of the path, the type itself, and the settings as much as you see fit.


There you have it! Now you know how to convert InDesign text to curves. You can use the Ellipse Tool to place InDesign type inside a circle too. Using this technique, you're not limited to using a circle shape. Try out different-shaped paths and see where your creativity takes you!
Speaking of creativity, are you looking for a spark of inspiration or a start on your next InDesign project? Then you should check out some of these InDesign templates from Envato Elements.
1. Art Gallery Flyer (INDD, AI, PSD, AI)


Check out this Art Gallery flyer! It comes in an easy-to-use InDesign template. Just download and open up with InDesign, and you're ready to go!
2. Magazine InDesign Template (INDD, PSD)


This magazine template could be a great start to your next printed magazine project. It comes in a neatly laid-out InDesign file with plenty of opportunity to change InDesign text to curves.
3. Healthcare Flyer Template (INDD, AI, EPS, PSD)


Looking for a neatly organized healthcare flyer? Then check this one out! It comes with an INDD file which makes it easy to get going and add your own custom content.
4. Sale InDesign Flyer Template (INDD, AI, EPS, PSD)


This InDesign template design is perfect for promotions and sales. It's a great opportunity for learning to curve text with InDesign. It comes with an INDD file, so it's straightforward to get working quickly.
5. Speaker Poster (INDD, PSD, EPS, AI)


Check out this eye-catching event flyer template for InDesign. It comes with a handy INDD file so you can download it and get started right away!
Looking to learn more about InDesign? Then check out these amazing tutorials from Envato Tuts+!


No comments:
Post a Comment