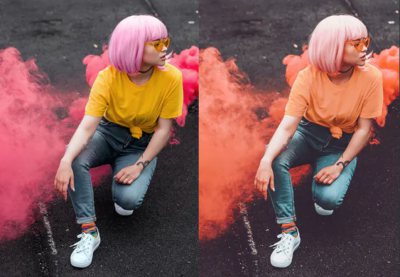
Most camera apps save images in JPEG format, but that’s a compressed file that can only be edited so much.
Enter Adobe Lightroom Mobile’s camera. This app provides you with DNG files. Raw and uncompressed, DNGs are higher quality than JPEGs, and offer much more latitude in how they can be edited. In this tutorial, you’ll learn the short, simple steps required to create raw images in Lightroom Mobile.
Check out the how-to to see Lightroom Mobile’s camera in action, and read the steps that follow. You’ll learn how to open Lightroom Mobile, set the file format to DNG, and capture raw images.


How to Take a Raw Photo Using Lightroom Mobile
The Basics
Lightroom Mobile is a free app that lets you create, edit, and share high-quality images. Embedded Adobe Photoshop technology provides you with over 30 presets, allowing you to experiment with color, clarity, vignetting, and more—all for free. Upgrading to a Creative Cloud Photography plan gives you access to a few more editing options, as well as syncing across devices, a customized website, Photoshop, and cloud storage.
Creative Cloud plans and pricing for individuals vary from $9.99/month to $79.49/month (or you can pay annually in one lump sum) and usually come packaged with other perks, apps and GBs of cloud storage. (Businesses, students & teachers, and schools & universities are offered other plans and pricing.) You can also try it out by activating a free seven-day trial.
1. Open the Adobe Lightroom Mobile App
Open the app and sign in: click on the Lightroom Mobile icon on your phone and tap Continue with Adobe.


Sign in with your email and password or tap create an account.


2. Set Adobe Account Access
TIP: You can avoid signing every time you open the app by downloading Adobe Account Access. When you download Lightroom Mobile, you’ll receive a prompt offering Adobe Account Access.


For security purposes, your phone needs to be set up to lock when you aren’t using it in order for Adobe Account Access to work. Go to Settings if necessary to set it up to lock.


3. Activate the Camera
Tap the camera icon on the lower right.


4. Set the File Format to DNG.
Check the top black bar to see what file format the camera is set to. Tap the file format at the top and toggle to DNG if necessary.


5. Take a RAW Picture
Tap on the Capture button at the bottom.


6. Enjoy Your Beautiful, High-quality Raw Image!
Because it is a raw-format DNG image file, and not a compressed JPG image, you will have a lot more photo-editing flexibility in the image and processing tools at your disposal.


Shoot in Raw
It may not be as quick to access as your native phone camera, but making just a few extra taps to the screen to shoot DNG rather than JPG is just plain smart. It gives you much greater editing capabilities later, and there's no reason not plan for that latitude—just in case.
Here are a few more free tutorials and resources to help you study up on smartphone photography:


 Photography10 Top Lightroom Preset Packs for Portrait Photos

 Photography20 Top Lightroom Presets for Photography

 iPhoneHow To Use Your iPhone Like A Pro: Post-Processing

 Photography50 Top Lightroom Presets for 2021

 PhotographyHow to Make Great Landscape Photographs With Your Smartphone

 VideoHow to Create a Basic Vertical Video Camera Kit

 VSCO CamHow to Edit Photos With VSCO

 CreativityHow to Embrace the Creative Limitations of Smartphone Photography

 SmartphoneSmartphone as Camera: Embracing Photography's New Visual Vocabulary

 Apple PhotosHow to Correct Your Images with Apple Photos
Lightroom Presets
For Lightroom presets, try Envato Elements. The simple subscription includes thousands of high-quality presets for Lightroom, all organized into packs, plus unlimited downloads on millions of other creative stock assets.
No comments:
Post a Comment